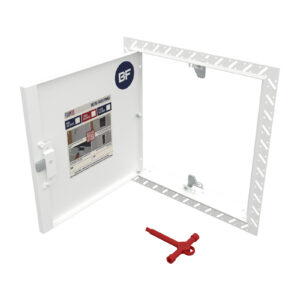
A Comprehensive Guide: How Do You Install a FlipFix Access Panel?
Introduction
A Flipfix access panel is an essential component in any building, providing easy access to hidden services such as pipes, wiring, and fuses. It is designed to be installed quickly and easily, with minimal disruption to the surrounding area. In this blog post, we’ll walk you through the process of installing a Flipfix access panel. Whether you’re a professional contractor or a DIY enthusiast, this guide will provide you with all the information you need.
Understanding FlipFix Access Panels
Before we delve into the installation process, it’s important to understand what a FlipFix access panel is and why it’s beneficial. A FlipFix access panel is essentially a door that provides easy access to concealed utilities within your walls or ceilings. They are commonly used in commercial buildings but can also be found in residential properties.
One of the main advantages of using a FlipFix access panel is its innovative design that allows for quick and easy installation. The unique FlipFix mechanism eliminates the need for additional input materials like wooden battens or adhesive, making it an economical choice.
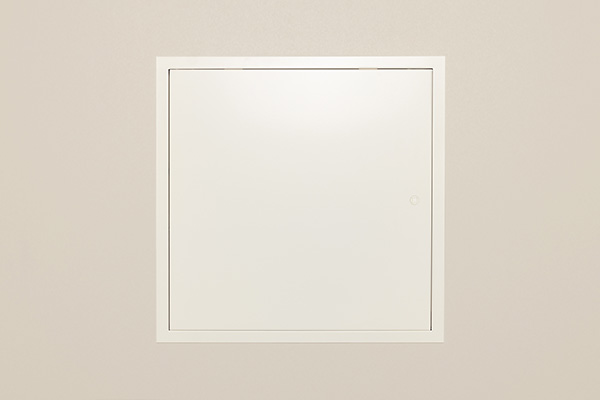
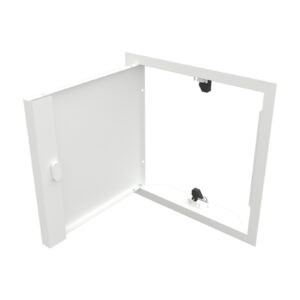
Closed FlipFix Panel
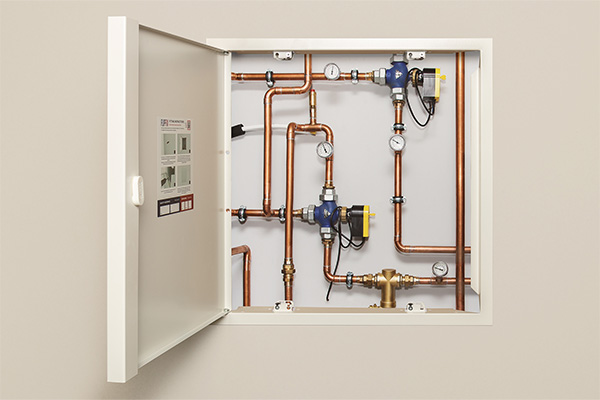
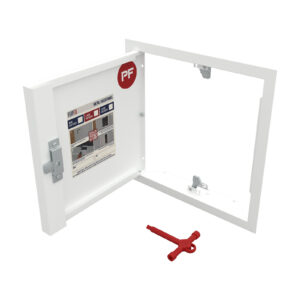
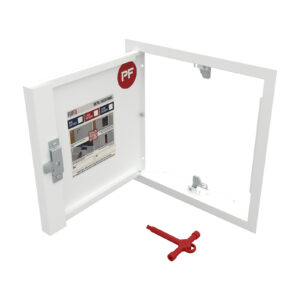
Open FlipFix Panel
Choosing the Right Size
The first step in installing your FlipFix access panel is choosing the right size. These panels come in various stock sizes ranging from 150x150mm to 600x600mm, and are available up to a maximum 1200x600mm as bespoke (depending on the specifications). The size you choose will depend on what you need to access behind it. For instance, if you’re only accessing small pipes or wires, a smaller panel will suffice. However, if you need to reach larger utilities such as ductwork or plumbing fixtures, then a larger panel may be necessary.
Preparation for Installation
Before starting the installation process of your Flipfix access panel, ensure that your work area is clean and free from debris. If you’re replacing an old access panel, remove it carefully without damaging surrounding areas.
Next, measure and mark out where your new Flipfix access panel will go, this is made easier by the pop out template that comes as part of the box. Use a level to ensure your marks are straight. Then, using a saw, carefully cut out the marked area. Remember to always wear protective gear when cutting into walls or ceilings.
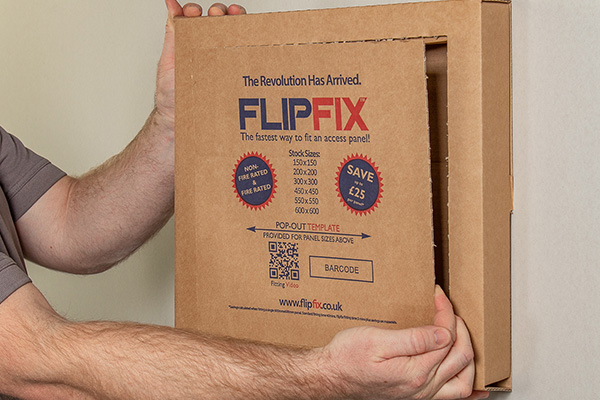
Pop-out template within the box packaging
Installing the FlipFix Access Panel
Now that you’ve prepared your work area and cut out the necessary space, you’re ready to install your FlipFix access panel. Here’s how:
Step 1: Insert the Panel
Position your FlipFix access panel into the hole you’ve cut out. The unique flip fix mechanism should be on the inside of the wall or ceiling.
Step 2: Secure it in Place
Once positioned correctly, turn the FlipFix mechanism 90 degrees using a screwdriver. This will secure it in place by clamping onto the back of your wall or ceiling.
Step 3: Check for Stability
Give your panel a gentle tug to ensure it’s securely fastened and won’t easily come loose.
Step 4: Finish Up
If desired, you can paint or wallpaper over your Flipfix access panel so it blends seamlessly with its surroundings.
Conclusion
Installing a FlipFix access panel is a straightforward process that can be completed with minimal tools and expertise. These panels offer an efficient solution for accessing hidden utilities while maintaining an aesthetically pleasing appearance.
Remember, safety should always be your top priority when carrying out DIY tasks like this one. Always wear appropriate protective gear and take care when cutting into walls or ceilings.
With this guide at hand, installing a FlipFix access panel should be an easy task even for those who aren’t professional contractors!
Stock Sizes
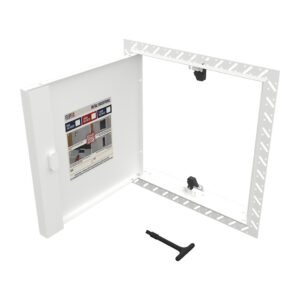
These panels are available with a beaded frame or a picture frame and are stock panels.
At Palco, we can dispatch these panels on the same day for competitively quick delivery, which is usually the next working day. This does vary depending on the delivery address, for example, in the higher areas of Scotland or Ireland this will increase to 2 working days. Larger quantities of panels that need to be either palletised or put on a dedicated vehicle may also take 3-5 working days. Our bespoke panels are typically on a 3-5 working day lead time.


